Rants and Raves
How to Configure AcyMailing with ElasticEmail

Using an email relay server can save you from being labeled as a spammer. Using ElasticEmail is very affordable SMTP relay service to send bulk mail.
How to Configure AcyMailing with ElasticEmail

Does your email server give you a daily limit on the amount of emails that you need to send? With the ElasticEmail service you are able to send as many emails as you'd like with the pay as you go prices. Luckily there is a special with Acymailing where the first 5000 emails are free.
In this tutorial we will show you how to configure your AcyMailing to send mails through the ElasticEmail server.
1. Create Account at ElasticEmail Website
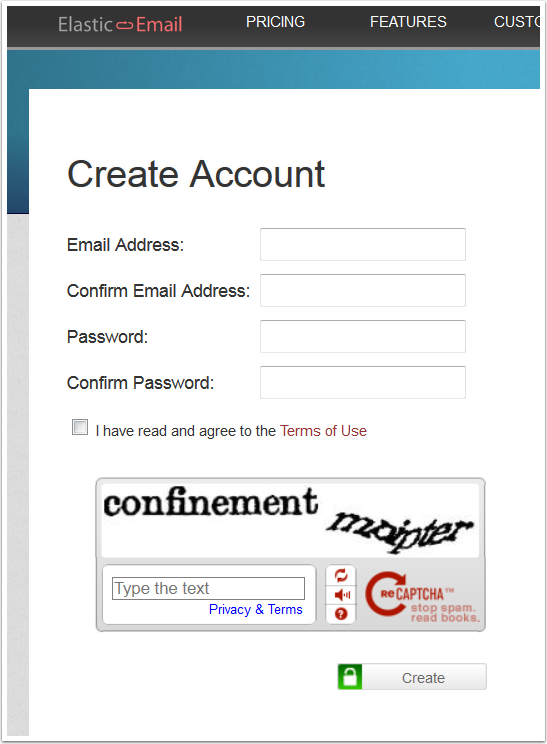
In order to get started, you need to create an ElasticEmail account here.
You will then receive an email to activate your account from registering.
2. Copy your API Key
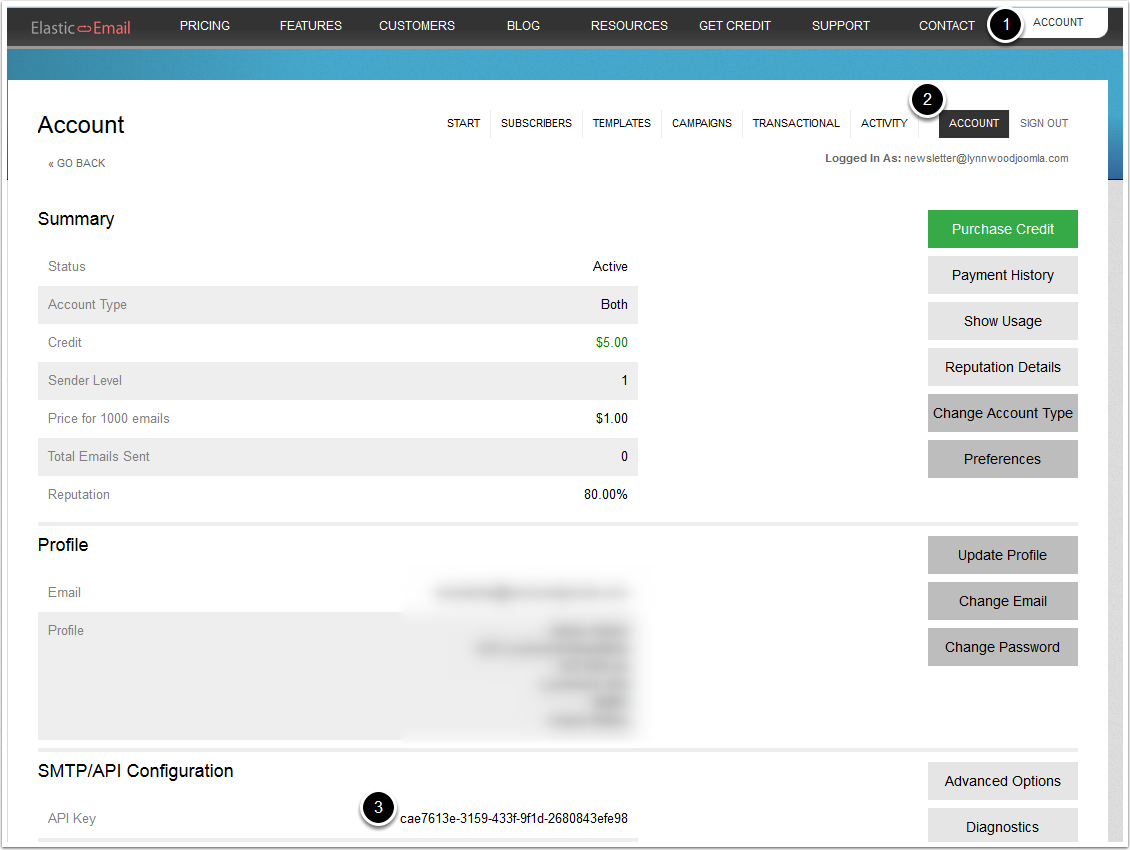
- Click on Account Menu at top corner.
- Click on Account tab.
- Scroll down to SMTP/API Configuration and "copy" the API Key.
3. Configure Advanced Options

While on the same page, click on "Advanced Options".
4. Sending Options
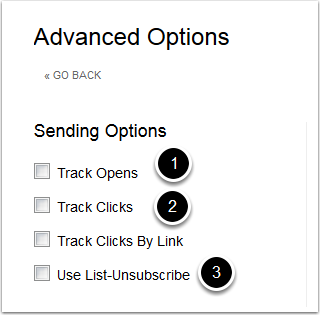
- Uncheck "Track Opens"
- Uncheck "Track Clicks"
- Uncheck "Use List-Unsubscribe
Be sure that all fields are unchecked unless you are familiar with what you are changing.
5. Bounce Options

Check "Return Bounces".
If you have an email address configured for bounceback emails, input it in the text field.
6. Add Domain
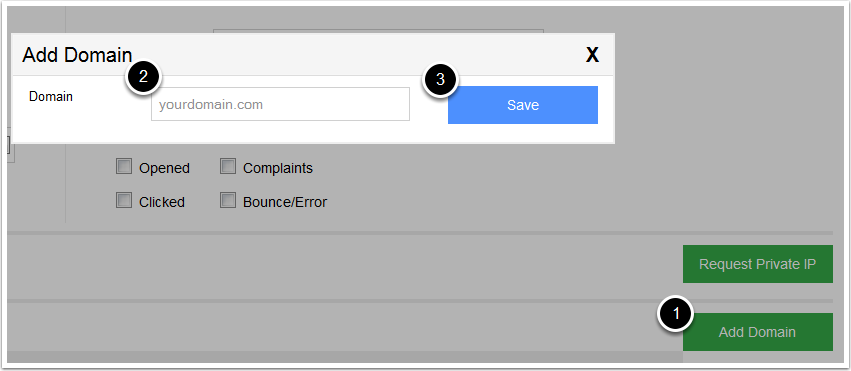
- Click on "Add Domain"
- Enter your domain address
- Click "Save"
7. Verify Domain

Click on "Verify" to verify your domain address.
8. Domain Validation
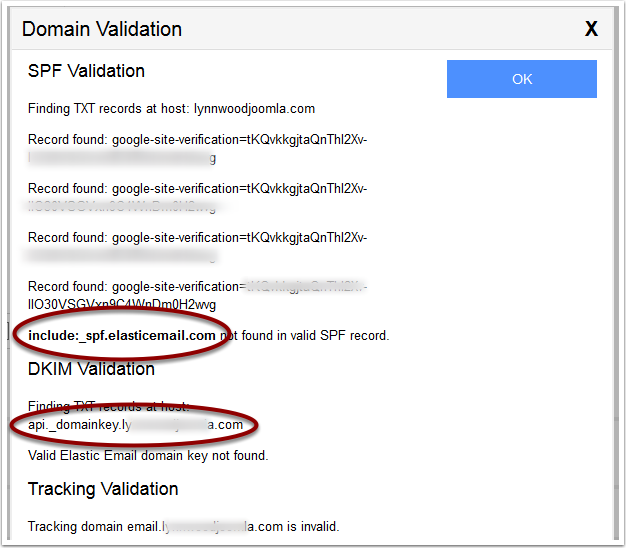
Add a TXT record to your DNS Settings. You can find more information on it here.
When everything is good, you can click on "Verify" again and make sure everything has cleared up.
9. Go to AcyMailing -> Configuration
- Go to your Joomla! site administration panel
- Go to Components -> AcyMailing -. Configurations
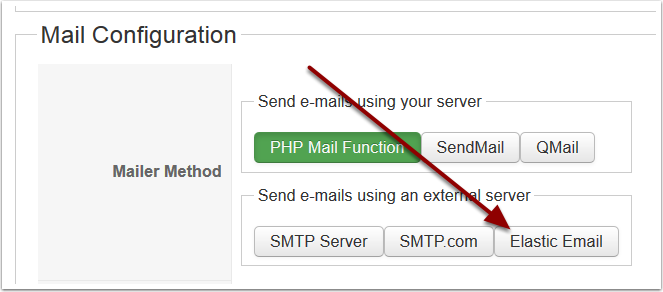
- Scroll down to "Mail Configuration" section
- Click on "Elastic Email" button
10. Enter your ElasticEmail API Key
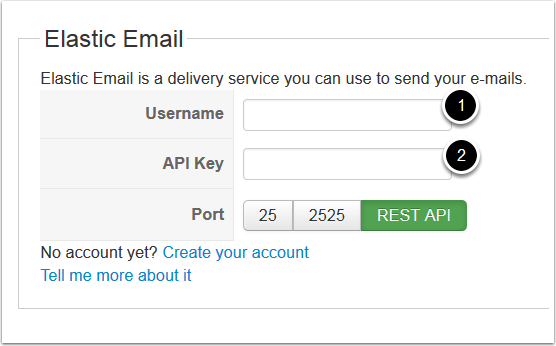
- Enter your username, which should be the email you registered with.
- Enter your API Key which can be found in your "Account" area from the ElasticEmail website.
Congratulations! You now have AcyMailing configured with ElasticEmails. Now create your first test Newsletter and watch it work magic!